Admittedly, the Function that we created yesterday doesn't do a whole lot more than respond to an incoming HTTP request with "Hello" and a name. Let's add a little bit of complexity to our demo by creating a new function using Visual Studio, Visual Studio Code and the Azure CLI.
Prerequisites:
- Visual Studio 2015 (Any Edition)
- Azure Subscription (no longer technically optional, however Azure Functions are very inexpensive to operate if you're worried about cost)
Getting Started with Visual Studio 2015
Even though Visual Studio 2015 isn't the latest version of Visual Studio I am targeting it for this demo because the tooling for Azure Functions isn't quite ready for Visual Studio 2017.
In order to use Visual Studio 2015 with Azure Functions you will need to install a couple extra tools.
- Azure 2.9.6 .NET SDK - again, this is targeted on purpose.
- Visual Studio Tools for Azure Functions -- this gives you the ability to do the familiar New --> Project --> Azure Functions --> Add New --> Functions workflow we are all familiar with.
- Node + Node Package Manager -- allows you to install the Azure Functions CLI as well as other Node.js packages.
- Azure Functions CLI
The reason we're installing Node.js, NPM and the Azure Functions CLI is Microsoft is recommending converting our Azure Functions to class libraries. We will cover how to create Azure Functions using both the New --> Project --> Azure Functions --> Add New --> Functions workflow we are all familiar with as well as through the recommended class library workflow.
Download the "Hello World" Function
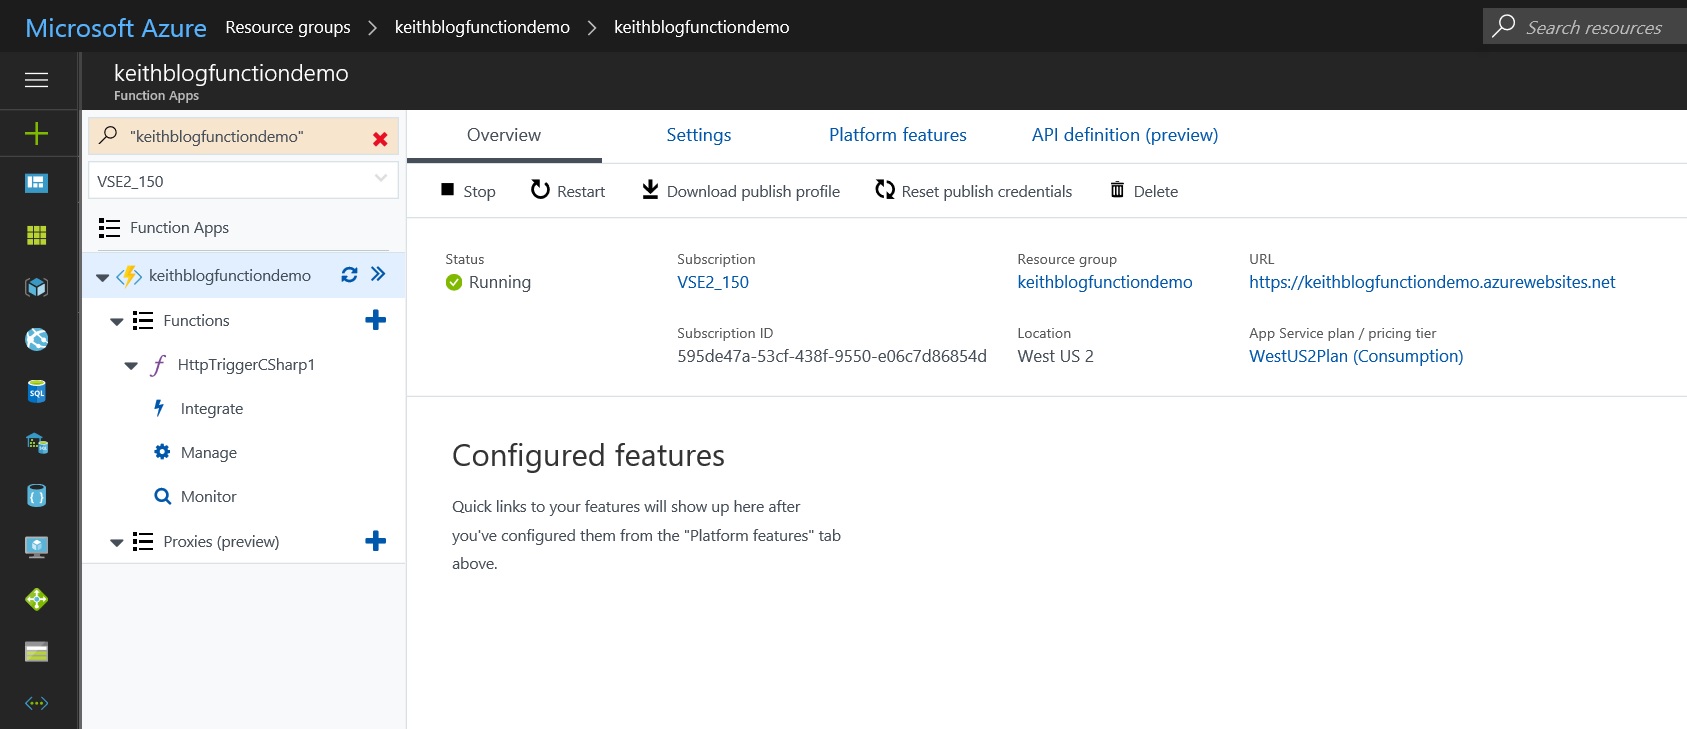
In yesterday's post we created our "Hello World" function using the Azure Portal. Let's navigate back into the Azure Portal and head into your Azure Functions App. I typically get there by clicking on "Resource Groups." Then click into the Resource Group we created for yesterday's demo. In the Resource Group you will see a Azure Function App Service designated by the lightning bolt icon. Click into that and you should see something similar to the following:
Click on Platform Features along the top. You should now see the following:
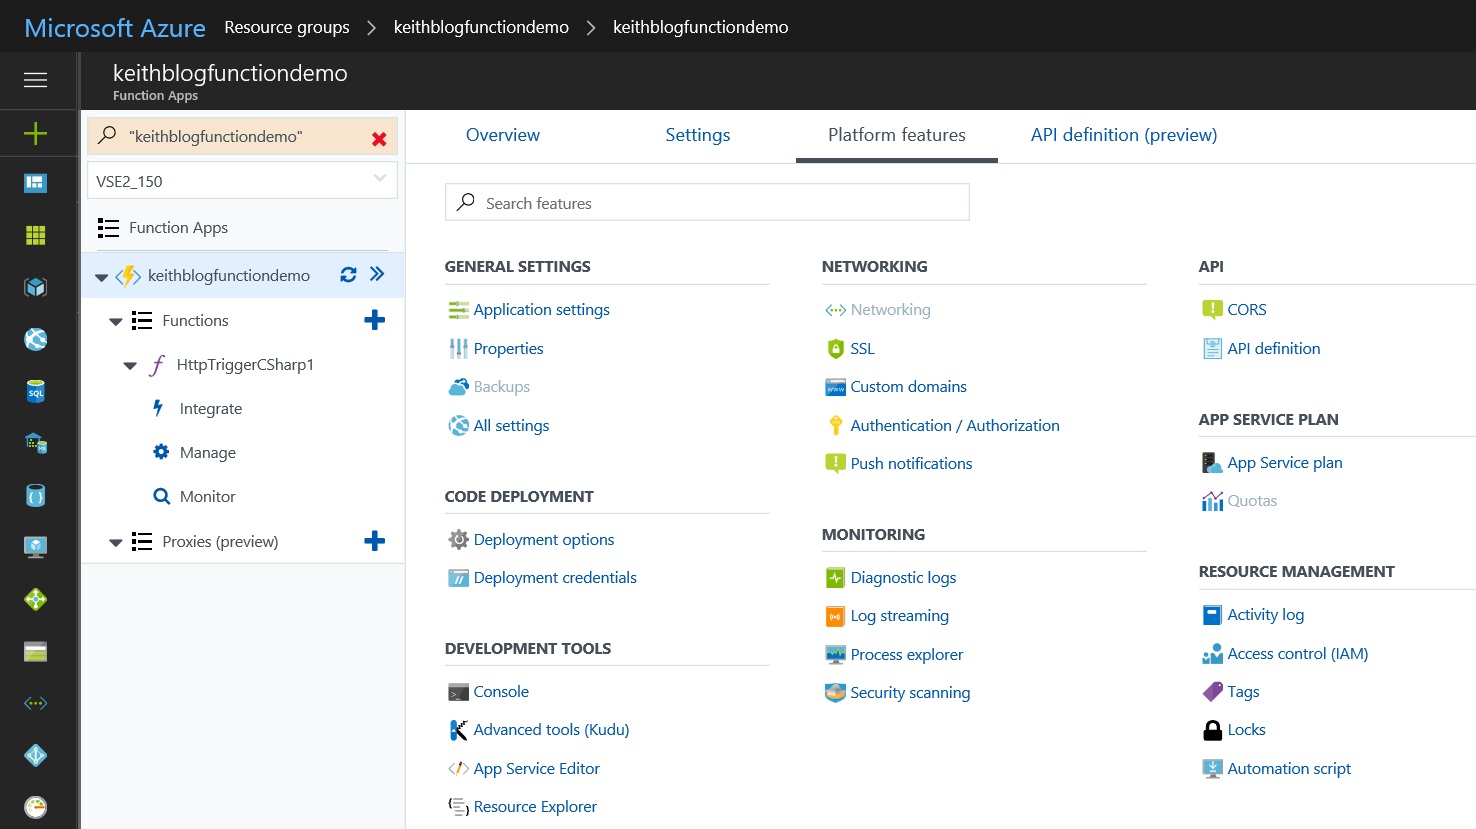
Next, under Development Tools we are going to select Advanced tools (Kudu).
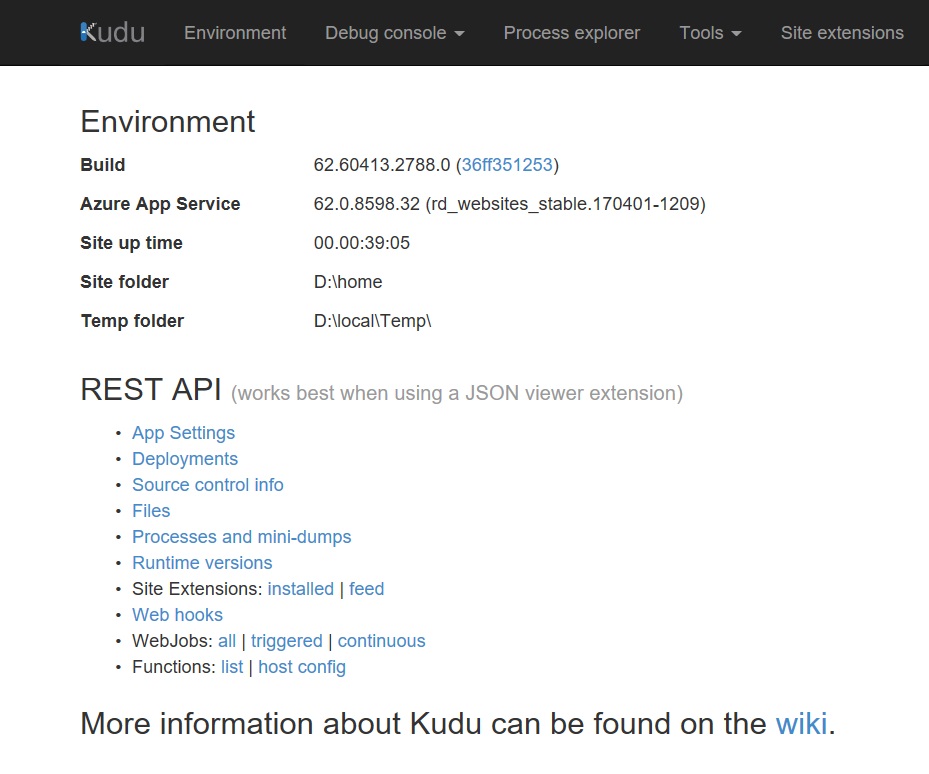
Next, click on the dropdown for "Debug console" along the top navigation and select "Powershell". This will list four items: data, LogFiles, Microsoft and site. Select "site" as this is where our "Hello World" Function is.
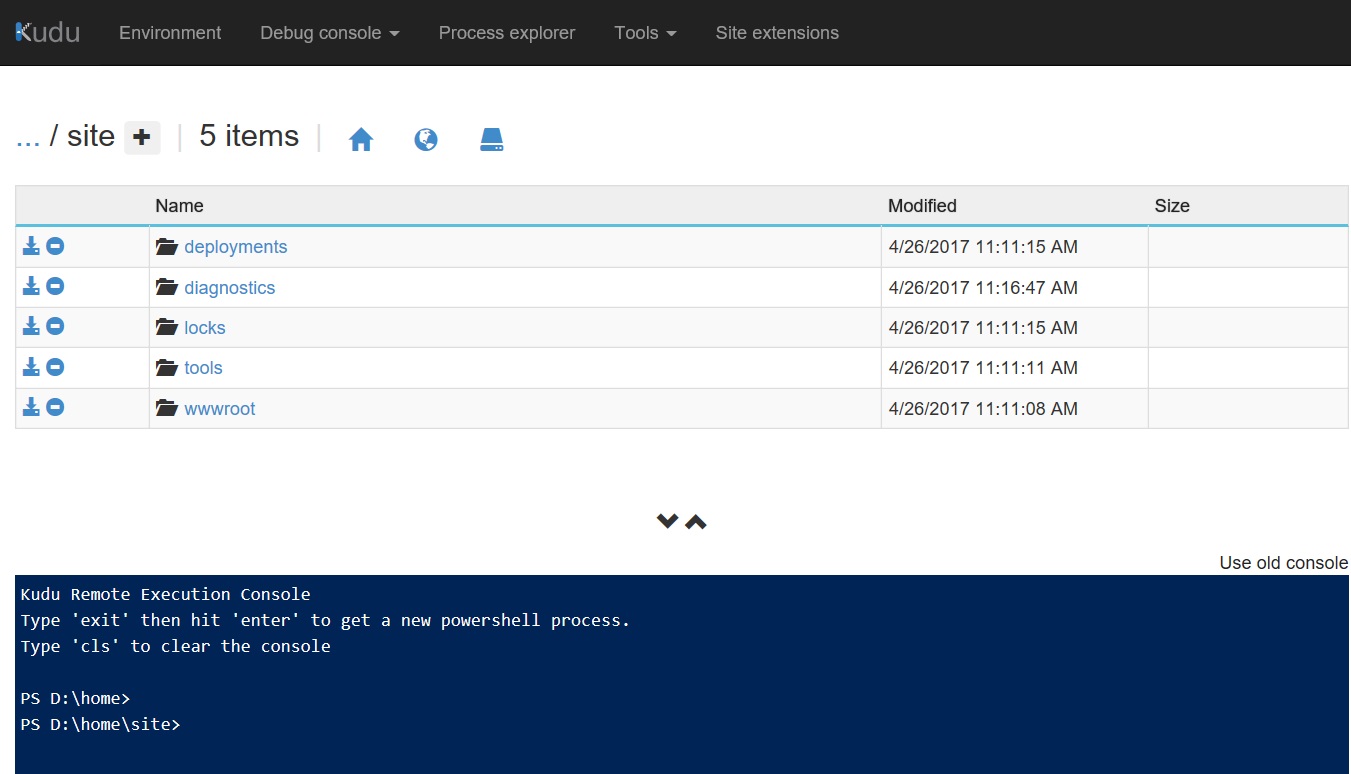
Click the icon that is an arrow pointing at a hard-drive to download the contents of wwwroot as a .zip file. This contains the script (.csx) and JSON for running our Function. Copy the location of wwwroot.zip to Notepad, or text editor of your choice, for later.
Adding our Hello Function to a Solution
Next, we will set up an empty solution in Visual Studio for the contents of wwwroot. Launch Visual Studio 2015 if you haven't already and do --> File --> New Project. We will set the project up to be something like this:

Next, we can go two ways:
1 The simplest thing possible we can create a new project that will be a native Azure Function project. Right click on our new Solution, scroll down to Add --> New Project. Under Visual C# choose Cloud and choose Azure Functions (Preview).
Going this route is probably the simplest way to get started debugging locally. All you will need to do is open the wwwroot.zip in File Explorer. In another File Explorer window we are going to open the path to the new Functions Project we just created. Then, simply copy over the contents of wwwroot to the root path of the Functions Project and choose "Replace Existing Content". Now we should see a folder named "HttpTriggerCSharp1" in our Function Project with the run.csx folder inside.
At this point you will be able to begin debugging your function locally. Hit F5, click Debug --> Start Debugging or click the "Play" button in Visual Studio to start debugging. You will notice that Visual Studio has launched the Azure CLI which hosts your Function Apps locally.
To test your "Hello World" Function see copy the URL of your Function to a text editor. Next we can send requests using Postman. I covered how to debug your Function yesterday using Postman and the steps are the same except you will use your local URL (the one we copied to the text editor) to send requests to.
2 Microsoft's current recommendation is to create an empty ASP.Net Web Application. So, we can go that route as well. Right click on our new Solution, scroll down to Add --> New Project. Under Visual C# choose Cloud and choose ASP.Net Web Application (.NET Framework) and then choose the Empty Site Template. Under "Add folders and core references for:" leave all checkboxes blank Optionally, add a unit test project if you desire. Do not configure the option to host in the Cloud as we will get there in an upcoming post.
If you go this route there are a few more steps you will need to take. Let's cover them briefly:
Azure Functions C# Developer Reference -- this lists all of the external dependencies that are automatically imported by the Azure Functions hosting environment. If you run into any issues converting your Functions App into a class library this is a great reference.
Additionally, add A Reference to the ASP.Net.WebApi.Core Package. This package includes the assemblies for System.Web.Http which will be needed for handling an incoming HTTP request in our Webhook.
At this point you will be able to begin debugging your function locally. Hit F5, click Debug --> Start Debugging or click the "Play" button in Visual Studio to start debugging. You will notice that Visual Studio has launched the Azure CLI which hosts your Function Apps locally.
To test your "Hello World" Function see copy the URL of your Function to a text editor. Next we can send requests using Postman. I covered how to debug your Function yesterday using Postman and the steps are the same except you will use your local URL (the one we copied to the text editor) to send requests to.
Conclusion
Our Webhook still doesn't do a whole lot but we have gone from hosting our Hello World Function on Azure App Service to being able to develop it and debug locally.
What's next: